How to use an exposure meter and the basics
A light meter is a tool that measures brightness. To take beautiful photos with a camera, it is important to know how much light there is. Using a light meter can give you a hint for taking photos with just the right brightness.
<Three important things when taking photos with a camera>
Shutter speed (how fast you can take a photo)
Aperture (F-number) (how much light passes through)
ISO (how strong or weak the camera is against light)
A light meter helps you think about the balance between these three.
It’s easy to use! !
① Turn on the light meter (switch it on!)
② Set the ISO
Set the ISO on the light meter to match your camera (e.g. ISO400).
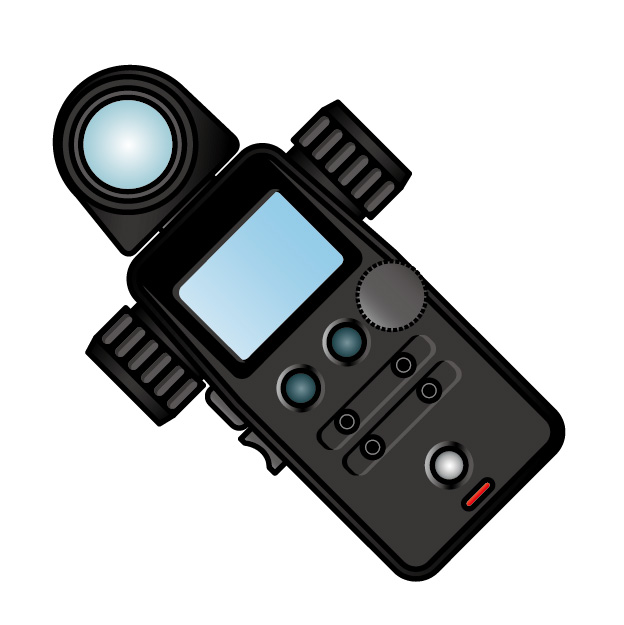
③ Point it at the place you want to measure
Point the light meter at the place you want to know the brightness of. Usually, you point the white round dome-like part at the light.
④ Press the measuring button.
⑤ Check the numbers
Then the light meter will tell you, “The shutter speed should be 1/125 and the aperture should be F5.6!”
| Manufacturer | Model name | Features | Price (tax included) |
|---|---|---|---|
| Gossen | DigiSix 2 | Compact, easy to carry, simple to use | Approximately 35,370 yen |
| SEKONIC | Flashmate L-308X | Flash photography compatible, easy to read digital display | Approx. 34,198 yen |
| Gossen | DigiSix (Used) | Basic functions, perfect for beginners | Approx. 12,420 yen |
| Tanita | Pocket scale KP-104 | Small and lightweight, easy to measure | Approx. 4,518 yen |
| SEKONIC | Flashmate L-308X | Flash photography compatible, easy to read digital display | Approx. 29,260 yen |
Comment
No comments yet.
No trackbacks yet.